
How to Make Balloon Rainbows
There is nothing we love more then when we see a project on Pinterest that gets our creative minds humming. So when we stumbled across this amazing balloon wall, we knew we needed to make one of our very own.
There are numerous types that can be created. You could make mini ones with fewer balloons, a pastel rainbow balloon garland with pastel balloons, or even just white balloons huddled together with rainbow colored streamers hanging down!
I’m here to assist you if you want to make your own rainbow balloon wall! A beautiful balloon rainbow can be made with a little time and a lot of balloons.
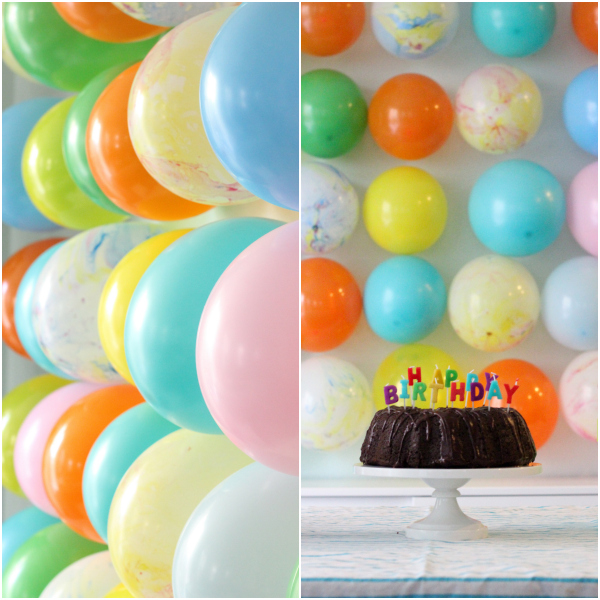
If you are looking for a backdrop that packs an impressive punch, that can be quickly & easily thrown together AND won’t cost you an arm & a leg to make, this rainbow colored fellow is the man for the job.
We were able to throw this up pretty quickly. The most time consuming thing was blowing up the balloons. All-in-all, we spent about an hour creating it.
Ready to make one of your own? Let’s Do it!
SUPPLIES:
- 11″ Latex Balloons
- Hand Held Balloon Pump
- Tape
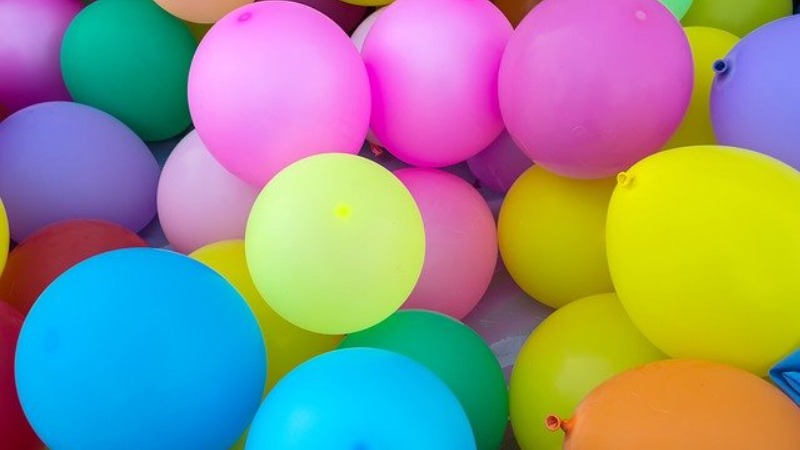
Depending on the size of your space, you’ll need about 100-150 balloons. Balloon walls with various sizes of balloons are common. I used the same size for my main rainbow balloon arch. You can, of course, buy any size balloons you want. Use same-size balloons as I did for a more homogeneous look.
TIPS & TRICKS
This is project is a no brainer — but sometimes it is nice to know the little details of how things are constructed. Here are our tips:
- Save your lungs and use a hand held balloon pump
- We blew up the balloons as we went so we could the customize the size to perfectly fit the spot where we were going to place it.
- If you will be photographing this wall, we recommend using matte tape instead of the shinier gift wrap stuff. The shiny finish reflects light and you can see it on the wall. For this project, we used Scotch brand Invisible Tape (the green package), but any matte tape should do.
- The balloons look better when not fully inflated. When all the way full, they create a tear drop shape. The tear drop shape tends hang a little on the droopy side. For the largest size we used, we blew the balloons up as big as they would go without losing a round shape.
- We used the same sized balloons for the entire project. We just filled some with less air to create a smaller size.
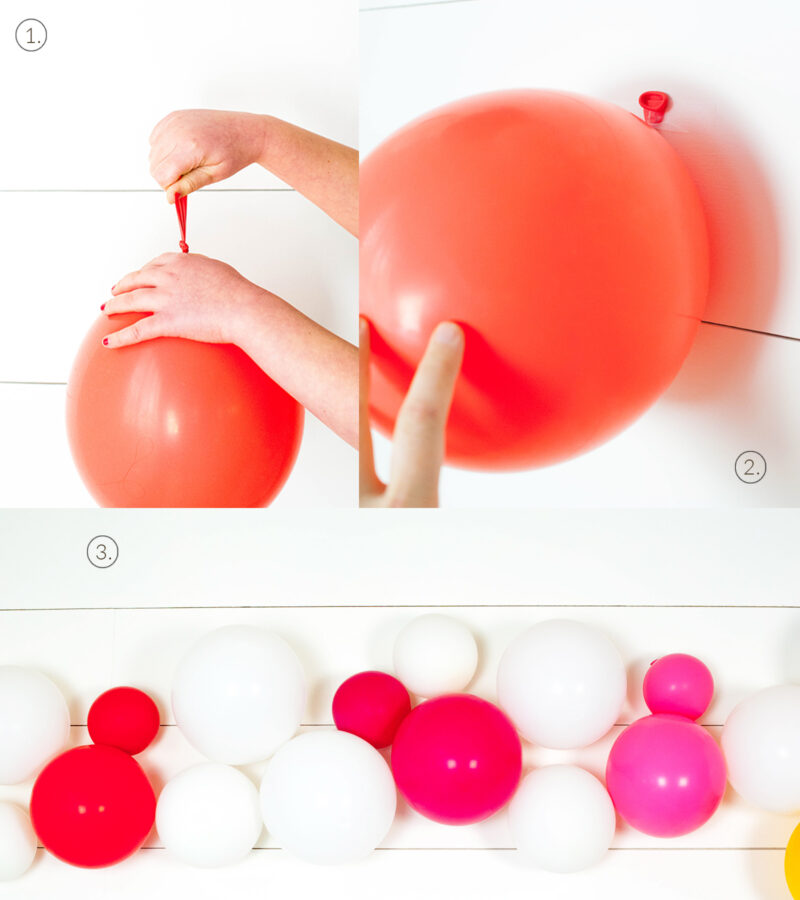
- Before mounting to the wall, we stretched the knotted stem of the balloon to make sure there was a long flat surface area to stick the tape to (see figure 1)
- We used about a 3-4″ strip of tape for each balloon and mounted them with the knot of the balloon at the top (see figure 2)
- We hung ours in a wave pattern to create depth and movement (see figure 3)